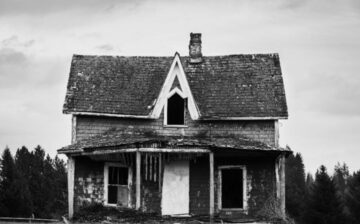
Roofing keeps your house’s elements under control initial layer of defense. Learn correct roof repair techniques to guard your house. Learning these basic methods can help you to solve common roofing problems. Use expert guidelines to produce better outcomes. Over time, industry-standard approaches have shown great advantage.
Comprehensive Inspection and Assessment
Your initial step requires conducting a thorough examination of the entire roof surface and underlying structure, ensuring no area goes unchecked. Document all visible damage including missing shingles, water stains, or sagging areas that could indicate deeper problems requiring immediate attention. Check the attic space during daylight hours to identify any spots where sunlight penetrates through the roof, as these indicate direct paths for water infiltration. Examine the gutters and downspouts for excessive granules, which may signal deteriorating shingles and overall roof system degradation. Professional Austin roof repair services recommend creating a detailed map of problem areas and photographing damage locations before beginning any work, allowing for organized and systematic repairs.
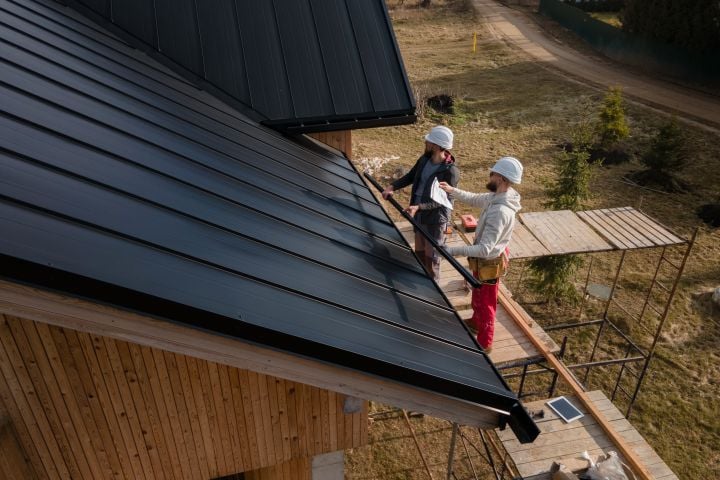
Safety and Equipment Preparation
Setting up proper safety equipment becomes crucial before starting any roof work, as falling hazards pose the greatest risk during repairs. To provide solid access to the work area, secure all ladders at the proper angle and make sure they stretch at least three feet above the roof edge. Install roof brackets and planks to create stable working platforms when needed, particularly on steeper roof pitches that require additional safety measures. Gather necessary tools, including pry bars, roofing nails, replacement materials, and appropriate safety gear, such as non-slip boots, harnesses, and fall protection systems that meet current safety standards. Store materials and tools within easy reach in a secured tool belt or nearby platform to minimize dangerous movement across the roof surface while maintaining a clear workspace.
Surface Preparation and Damage Removal
Begin the repair process by carefully removing damaged materials without harming surrounding areas, using appropriate tools to minimize collateral damage to adjacent shingles and flashing. Clear away any debris and ensure the surface remains clean and dry throughout the procedure, establishing a proper foundation for new materials and preventing trapped moisture. Remove damaged shingles by breaking their seal with a flat pry bar and carefully extracting the nails holding them in place, maintaining the integrity of the surrounding shingle pattern and underlayment. Before replacing surface material, check decking, rafters, and insulation for water damage or decay. Fix any ventilation issues like blocked soffit vents or poor attic airflow that caused the damage to prevent future concerns.
Material Application and Integration
Apply new materials per manufacturer specifications with correct overlap patterns following industry-standard installation recommendations for optimal durability. Install underlayment materials where needed to create a water-resistant barrier beneath surface materials. To provide a uniform look and watertight seal, line replacement shingles or other roofing materials with existing surfaces and maintain constant spacing and overlap. To maximize holding power and minimize blow-offs and material separation, insert roofing nails at the right depth and along the shingle’s nailing strip. Ensure proper shingle orientation and overlap patterns to move moisture toward drainage systems and prevent water from accumulating or seeping beneath the roofing components.
Quality Control and Weatherproofing
Test all repairs thoroughly before considering the job complete by performing a comprehensive inspection of the entire repair area under various lighting conditions. Verify proper adhesion of new materials and ensure all edges remain properly sealed by checking for any gaps, lifting, or separation between shingles and surrounding surfaces. Apply appropriate flashing around chimneys, vents, and other roof penetrations with proper overlapping techniques to create a watertight seal that prevents water from entering vulnerable areas. Check that all nail heads remain properly covered by shingle tabs and sealant strips to prevent potential water intrusion points that could compromise the repair integrity. Monitor the repaired areas through several weather cycles, including rain, wind, and temperature changes, to confirm the effectiveness of your work and identify any potential issues that may require additional attention.
Conclusion
Proper roof repair protects your home investment. These measures provide professional-quality repairs and long-term protection. Your work will last longer with regular maintenance following repairs. Repairs may require professional help, depending on their intricacy. Learning suitable repair processes helps you make roof maintenance decisions.
We hope you found this blog post on 5 Essential Steps to Repairing Your Roof Like a Pro, useful. Be sure to check out our post on How To Choose a Roofing Company for more great tips!

Have Experience in the Moving Industry? Want an Additional Income Stream? Work With All Around Moving!
Partner with us, All Around Moving Company, and we’ll help you make money by establishing your own moving consultant business. Click here to learn more.